
Why hand tools first
Power tools save time on repetitive cuts, but hand tools teach you how wood behaves. A plane running with the grain sounds different from one running against it. A sharp chisel pares cleanly; a dull one skids and splits. These are things you notice when your hands are in contact with the wood, not when a router bit is spinning at 20,000 rpm. For someone starting out, a modest set of well-maintained hand tools builds better instincts than a workshop full of machines.
The list below covers the tools that appear in the widest range of beginner projects — shelves, frames, small cabinets, benches. Each entry includes what to look for when buying and what to avoid at entry price.
The core kit
1. A panel saw
A traditional hand saw with 8–10 teeth per inch (tpi) handles both rip and cross-grain cuts in solid timber. Western-style pull saws with 14–16 tpi are popular in Poland because they are accurate on the push stroke and can be found in hardware shops for under 80 PLN. For box joints and tenon cheeks, a back saw (grzbietnica) with a stiff spine and fine teeth is worth adding once the basics are comfortable.
What to avoid: cheap saws with hardened teeth that cannot be sharpened. They cut adequately when new but go blunt after three or four projects and cannot be restored. A resharpenable carbon-steel saw at a slightly higher price lasts indefinitely.
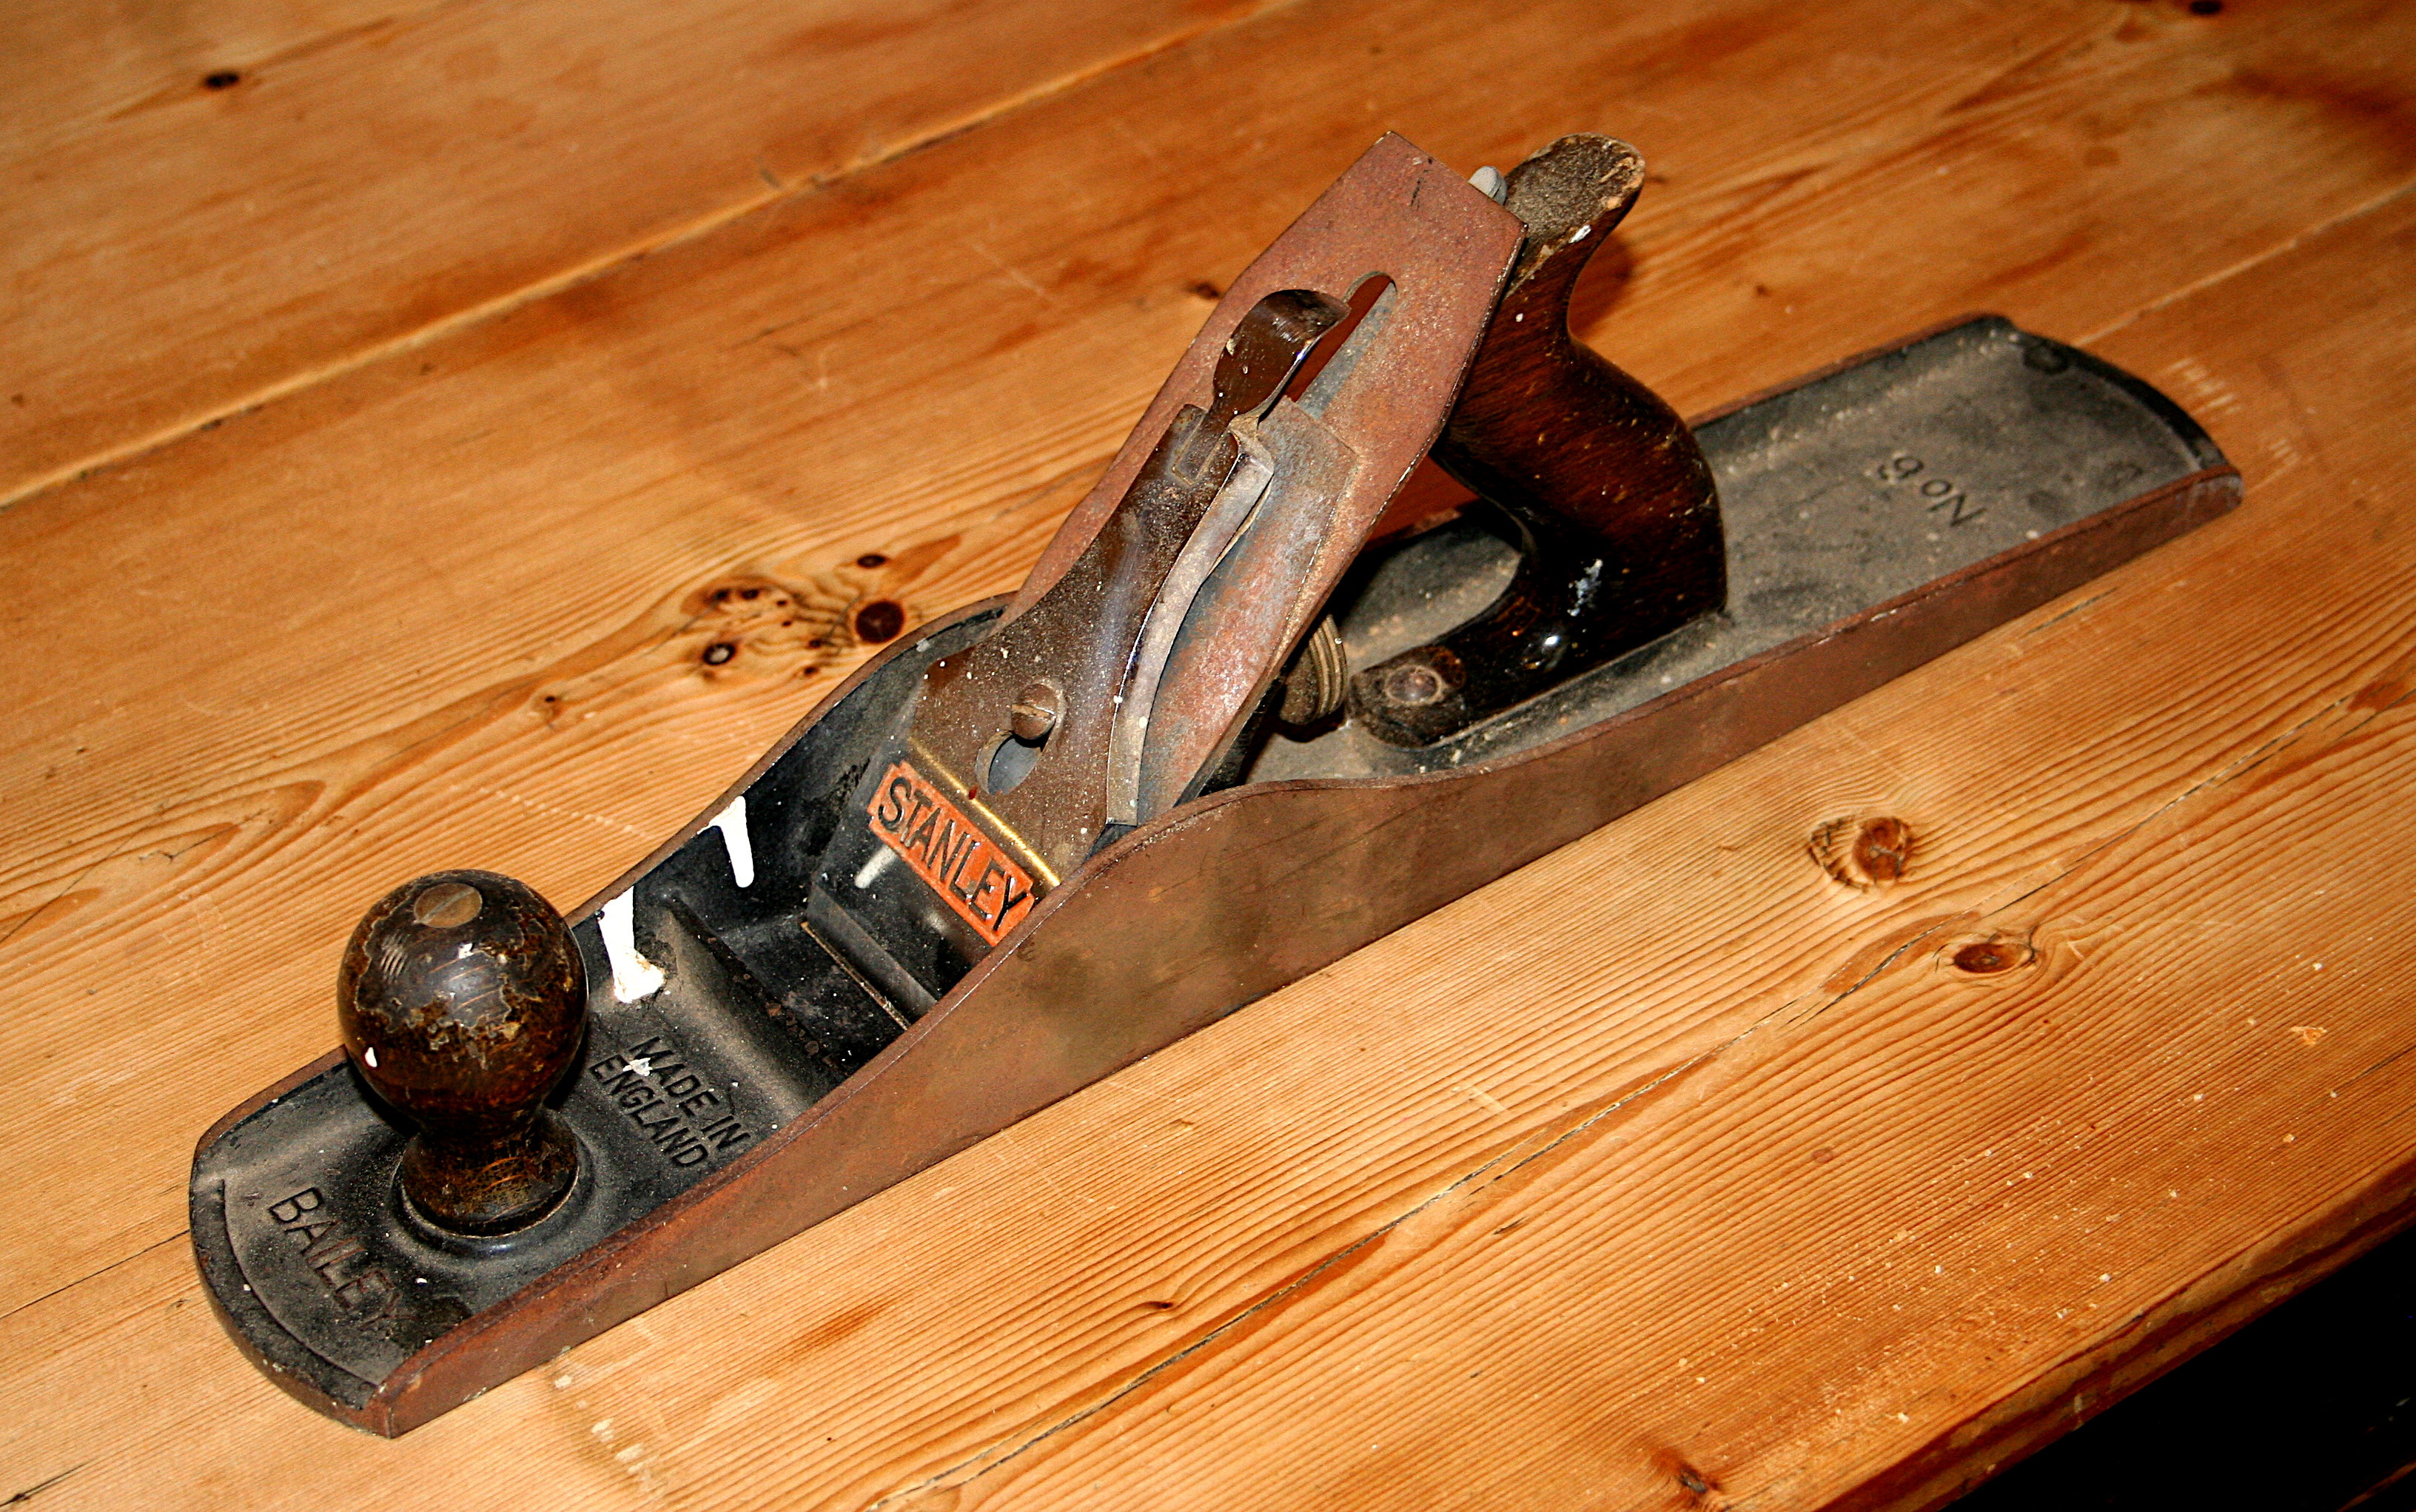
2. A No. 4 or No. 5 bench plane
A bench plane flattens faces, reduces thickness, removes saw marks, and fits joints. The No. 4 (smoothing plane, ~240 mm) handles final surfacing; the No. 5 (jack plane, ~360 mm) does coarser stock removal. Start with one — the No. 5 is more versatile for beginners because it covers both tasks at the cost of some delicacy on final surfaces.
Second-hand Stanley and Record planes from flea markets and online classifieds are consistently better value than new budget planes from Asian manufacturers. A used No. 5 in need of a new blade costs 60–120 PLN and, after flattening the sole and sharpening the iron, performs as well as a new plane at three times the price. The Lie-Nielsen and Veritas planes represent the top of the market; they are not necessary to start.
3. Chisels
A set of four bevel-edge chisels — 6 mm, 12 mm, 19 mm, and 25 mm — covers mortising, paring, and cleaning out dovetail waste. Bevel-edge chisels are preferred over firmer chisels for general bench work because the angled sides reach into tight corners.
The most important thing about a chisel is that it is sharp. A chisel straight from the shop is rarely sharp enough to pare cleanly; it needs to be flattened on the back and honed to a polished edge before first use. Japanese chisels (nomi) hold an edge longer but are more brittle and require care when struck near the side. For most beginners, a standard European-pattern chisel in O1 tool steel is the more forgiving starting point.
4. A marking gauge
A marking gauge scribes lines parallel to an edge — the foundation of accurate joinery. The wheel-type (cutting gauge) gives a cleaner line than a pin gauge in cross-grain work and is worth the minor price difference. Mortise gauges, with two adjustable pins, mark both sides of a mortise simultaneously; they are not essential immediately but become useful once mortise-and-tenon joinery starts.
5. A combination square
A 300 mm combination square checks and marks 90° and 45° angles and doubles as a depth gauge. Buy from a tool brand with a calibrated blade — cheap squares from general hardware stores are often out of square by 0.5° or more, which compounds into visible error over a joint.
6. A mallet
A wooden mallet strikes chisels without damaging the handle and gives more tactile feedback than a metal hammer. Round-head carpenters' mallets in beech or hornbeam are standard; a weight of 400–500 g suits most chisel work. Avoid rubber mallets — they are useful for assembly but too soft for consistent chopping.
7. Sharpening equipment
Sharpening is not optional. A 1000-grit waterstone removes nicks and establishes a bevel; an 8000-grit stone polishes to a working edge. A leather strop loaded with green compound maintains the edge between stones. The complete setup costs 120–200 PLN and serves the entire kit indefinitely. Without it, every cutting tool becomes progressively less useful.
What to defer
Router planes, shoulder planes, and cabinet scrapers are valuable tools but not needed in the first six months. A workbench (or a solid table with bench dogs clamped to it) is more important than any additional cutting tool. A good vise — even a Record 52 from a fleamarket — anchors work in ways that no amount of clamps can replicate.
Budget allocation
A realistic first-kit budget in Poland for new tools is 500–800 PLN covering the items above. The same kit assembled from second-hand tools costs 200–400 PLN. The quality ceiling at either budget is determined entirely by maintenance, not by the original purchase price.
The next logical step after building the core kit is understanding which projects suit it — the article on building a wooden shelf step by step describes a project that uses every tool listed here.